How Long to Cook Chicken Tenders in Air Fryer 2026
How Long to Cook Chicken Tenders in Air Fryer: The Complete Guide
You've got a bag of chicken tenders in one hand and an air fryer on the counter. You're hungry, you're in a hurry, and you really don't want to end up with dry, chewy strips or worse, undercooked chicken. The question is simple: how long to cook chicken tenders in an air fryer so they come out golden, crispy, and safe to eat?
That's what we cover here. No fluff, no guesswork. The ideal answer depends on a few quick variables: thickness, frozen or fresh, and whether they're breaded.
But the bottom line is this: you can have perfectly cooked tenders in under 15 minutes. As of 2026, air fryer technology has only gotten better, but the core principles haven't changed. Let's nail them.
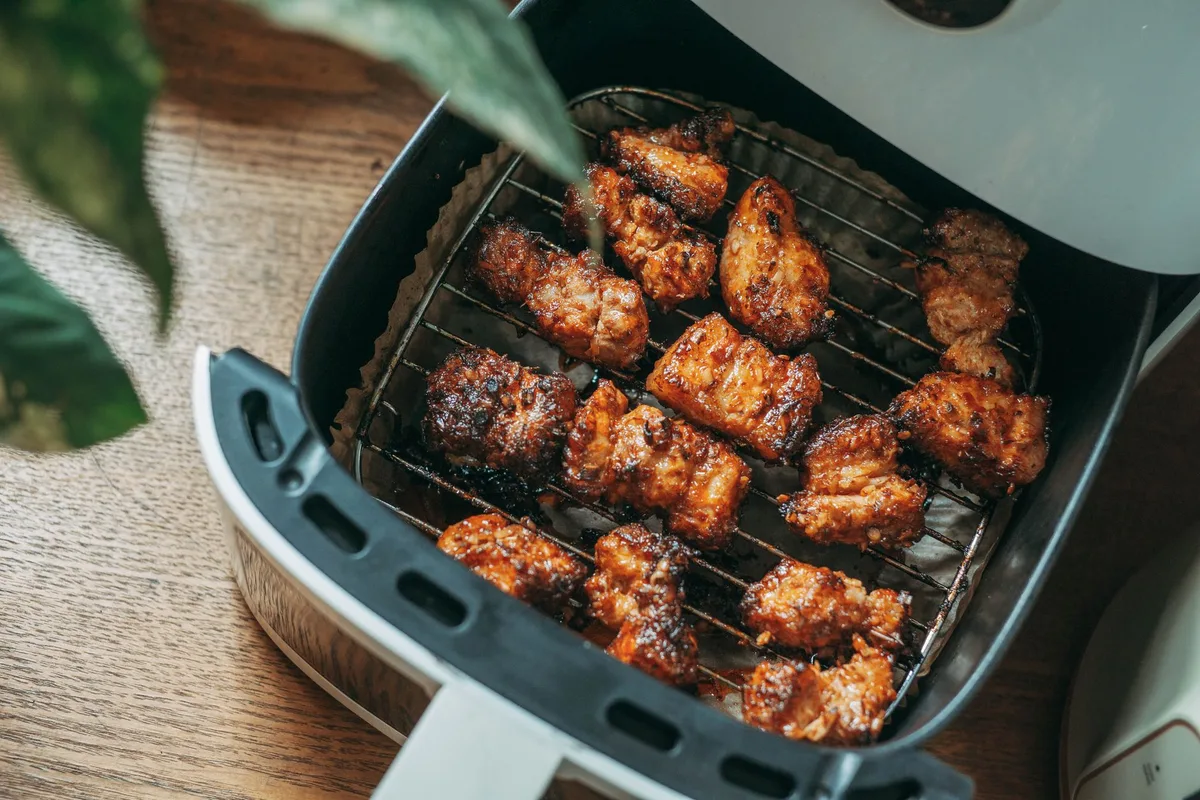
Image source: Pexels / FOX ^.ᆽ.^= ∫ (Pexels License)
Why Getting the Time Right Matters (More Than You Think)
Chicken tenders are thin. That's a good thing, they cook fast. But it also means a small timing error can leave you with food safety risks or a disappointing texture.
The USDA states that chicken must reach an internal temperature of 165°F (74°C) to be safe. A few degrees under and you're flirting with salmonella. A few minutes over and those tenderloins turn into shoe leather.
The margin for error is narrow.
That's why we always recommend a digital meat thermometer. It's the only way to be certain. Relying on the timer alone is risky, especially across different air fryer models.
Most manufacturer cooking guides recommend 375°F for 10 to 12 minutes for fresh tenders, but your specific brand might run hotter or cooler. User reviews across popular air fryer models suggest that Ninja, Cosori, and Philips models each vary by 1 to 2 minutes.
So the real answer isn't just a number. It's understanding the variables that affect that number, then using a thermometer to confirm. Let's start with the quick reference.
Image source: Pexels / Alejandro Maroto (Pexels License)
The Quick Answer: Temperature and Time at a Glance
Here's the short version you're after.
For fresh, breaded chicken tenders: cook at 375°F for 10 to 12 minutes. Flip halfway.
For frozen, breaded chicken tenders: cook at 400°F for 12 to 15 minutes. Shake the basket at the 7-minute mark.
For fresh, unbreaded tenders: cook at 375°F for 8 to 10 minutes. Flip halfway.
For frozen, unbreaded tenders: cook at 375°F for 12 to 14 minutes. Flip halfway.
These times work for a preheated air fryer. If yours doesn't require preheating, add 2 minutes. Always check that the thickest piece hits 165°F.
Remember: this is a starting point. The real key is the internal temperature. The time is just the path, the thermometer is the destination.
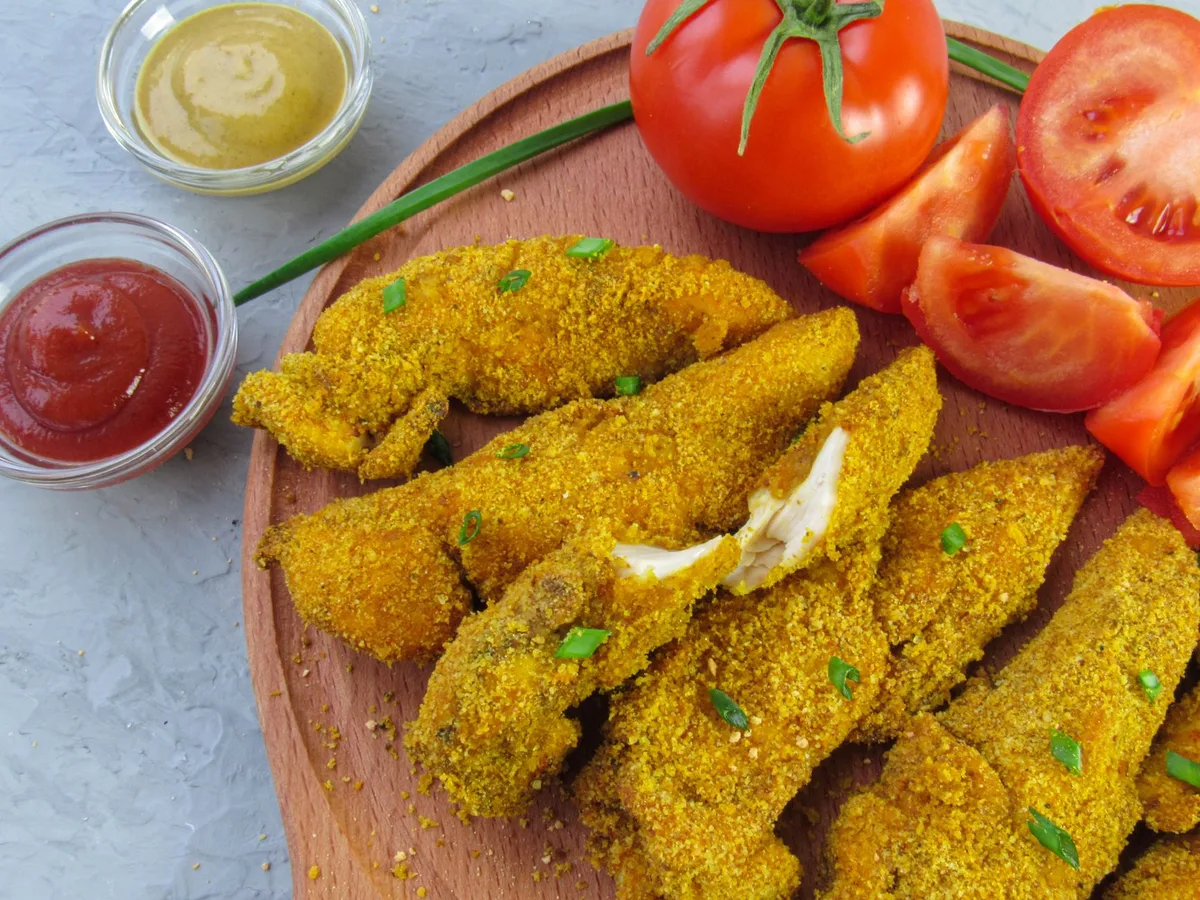
Image source: Pexels / Karyna Panchenko (Pexels License)
What Affects Cooking Time? The Key Variables
Not all chicken tenders are created equal. Here are the main factors that change your cook time.
Thickness
A tenderloin that's ½‑inch thick will cook faster than one that's 1‑inch thick. Thicker pieces need an extra 2 to 3 minutes. If you have a mix of sizes, cut the largest ones in half so they cook evenly.
Frozen vs. Fresh
Frozen tenders need more time because the ice crystals have to melt and evaporate before browning starts. Expect a 3 to 4 minute difference. You don't need to thaw them first.
Just add time and shake the basket a little more often.
Breading vs. Naked
Breaded tenders take a bit longer because the coating acts as an insulator. But they also crisp up beautifully with hot air. Unbreaded tenders cook faster and are leaner.
If you're using a dry rub, consider a light spray of oil to help the seasoning stick and promote browning.
Air Fryer Model and Size
Your specific machine matters. A larger basket (5+ quarts) with higher wattage cooks faster than a compact 2‑quart model. Convection fans vary too.
If you're using a Cosori Pro, check their official temperature guide. For Ninja models, preheating is automatic. For Philips, the basket is smaller, so you may need to flip more often.
Always consult your manual if you're unsure.
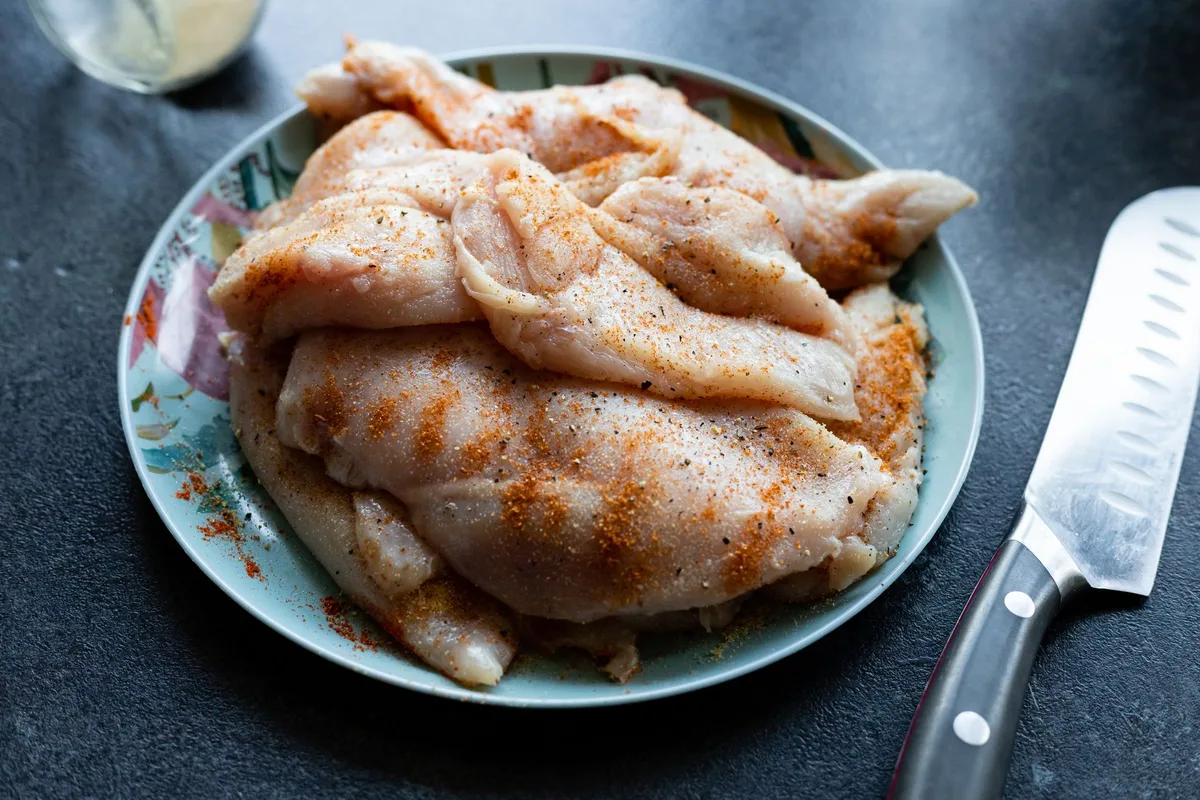
Image source: Pexels / Mateusz Feliksik (Pexels License)
Step-by-Step Guide: From Fridge or Freezer to Table
Let's walk through the process so you can replicate it perfectly.
Step 1: Preheat Your Air Fryer
Set it to 375 to 400°F, depending on what you're cooking. Let it run empty for 3 to 5 minutes. Preheating ensures the hot air hits the chicken immediately, giving you a better sear and more even cooking.
Step 2: Prepare the Tenders
If fresh, pat them dry with paper towels. This removes moisture that would steam the coating. If frozen, just open the bag.
No need to rinse or thaw.
Season as you like. Salt, pepper, garlic powder, paprika, simple combinations work great.
Step 3: Arrange in a Single Layer
Place the tenders in the basket with no overlapping. Crowding traps steam and stops crisping. If you have more than will fit in one batch, cook in two rounds.
It's worth the extra couple of minutes.
Step 4: Lightly Spray with Oil
A quick mist of avocado or canola oil helps the breading turn golden and crunchy. You don't need much. One or two sprays per side is plenty.
Step 5: Set the Timer and Temperature
Use the times from the chart below as a baseline. Add or subtract time based on thickness. For more on cooking other frozen chicken products, check our guide on frozen chicken breast.
Step 6: Flip or Shake Halfway
At the halfway point, open the basket and flip each tender with tongs. For frozen tenders, shaking the basket works fine. This ensures both sides brown evenly.
Step 7: Check Internal Temperature
Insert an instant-read thermometer into the thickest part of the largest tender. It should read 165°F. If it's close but not there, add 2 minutes and check again.
Step 8: Rest and Serve
Let the tenders sit on a wire rack or plate for 2 to 3 minutes. This allows juices to redistribute. Serve immediately.
Image source: Pexels / Angelo Greñas (Pexels License)
Temperature & Time Chart for Every Type of Chicken Tender
Here's a quick reference table you can bookmark.
| Type of Chicken Tender | Temperature | Cook Time | Halfway Point |
|---|---|---|---|
| Fresh, breaded (½‑inch) | 375°F | 10–12 min | Flip at 5–6 min |
| Fresh, unbreaded (½‑inch) | 375°F | 8–10 min | Flip at 4–5 min |
| Frozen, breaded | 400°F | 12–15 min | Shake at 7 min |
| Frozen, unbreaded | 375°F | 12–14 min | Flip at 6–7 min |
| Thick tenders (1‑inch) | 375°F | 12–15 min | Flip at 6–7 min |
| Thin tenders (¼‑inch) | 375°F | 6–8 min | Flip at 3–4 min |
Note: All times assume a preheated air fryer. If you skip preheating, add 2 minutes. Always verify with a thermometer.
This chart works for most home air fryers. If you have a high‑wattage model, check the lower end of the range first. For lower‑wattage, lean toward the upper end.
Pro Tips for Crispy, Juicy Results Every Time
Getting that golden crunch without drying out the meat is the real goal. A few small adjustments make all the difference.
Spray Oil Lightly But Evenly
A light mist of oil is the secret weapon for crispy breading. It helps the coating brown instead of staying pale. Avocado oil works well because it has a high smoke point.
Canola or vegetable oil are also fine. Two quick sprays per side. Too much oil creates greasy spots and smoke.
Don't Skip the Preheat
A cold air fryer wastes the first few minutes just getting up to temperature. That means less crispiness and longer cooking. Preheating for 3 to 5 minutes ensures the hot air hits the chicken immediately.
Your tenders will start browning the second they go in.
Shake or Flip More Than Once
For frozen tenders, shaking every 5 minutes is better than just once. This prevents the breading from sticking together or cooking unevenly. For fresh tenders, flipping once is usually enough.
But if you see one side getting dark faster than the other, rotate the pieces.
Let Them Rest Before Serving
Resting the tenders for 2 to 3 minutes on a wire rack keeps the coating crisp. If you pile them on a plate, steam gets trapped between the layers. The breading softens fast.
A wire rack lets air circulate underneath. Serve immediately after resting for the best texture.
Season After Cooking for Maximum Flavor
Salt and spices lose potency under high heat. A light sprinkle of flaky salt or garlic powder right after they come out gives a bigger flavor punch. Try paprika, cayenne, or Old Bay for variety.
Just a pinch goes a long way.
Image source: Pexels / ready made (Pexels License)
Common Mistakes That Ruin Chicken Tenders – and How to Avoid Them
Even experienced cooks make these errors. Here's what to watch for.
Overcrowding the Basket
This is the number one mistake. When tenders touch or overlap, steam gets trapped. Steam makes breading soggy.
The air fryer needs space to circulate hot air around each piece. If your basket holds six tenders comfortably, don't force in eight. Cook in two smaller batches instead.
Think about it this way: a crowded basket is like a packed elevator. Nobody can move. The hot air can't reach every surface.
Spacing them out gives you the same crispiness as deep frying without the oil.
Not Preheating
We mentioned this earlier, but it's worth repeating. Starting with a cold chamber extends cook time and reduces browning. The outside takes longer to crisp, which dries out the inside.
Just hit the preheat button and wait. It takes less than 5 minutes.
Opening the Basket Too Often
Every time you open the basket, heat escapes. The air fryer has to work harder to recover. Check your tenders at the halfway point only.
Resist the urge to peek every 2 minutes. If you're worried about burning, set a timer for the minimum time first. Then check.
Using Too Much Oil
Oil helps browning, but more isn't better. Excess oil drips to the bottom of the basket and smokes. It can also make the breading heavy and greasy.
A light mist is all you need. If you're using a brush, wipe off the excess.
Cooking Straight from Frozen Without Adjusting Time
Frozen tenders take longer. Expect an extra 3 to 5 minutes compared to fresh. The ice crystals need time to melt and evaporate before browning starts.
Don't rely on the same timer you use for fresh tenders. Use a thermometer instead.
Image source: Pexels / Angelo Greñas (Pexels License)
Frequently Asked Questions
Do I need to flip chicken tenders in the air fryer?
Yes. Flipping ensures even browning on both sides. For fresh tenders, flip once at the halfway point.
For frozen tenders, shake the basket or flip each piece. This prevents one side from getting too dark while the other stays pale.
Can I cook frozen chicken tenders without thawing?
Absolutely. In fact, cooking them frozen often gives better results. Thawing first can make the breading mushy.
Just add 3 to 5 minutes to the cook time. Always check the internal temperature before serving.
Why are my air fryer chicken tenders dry?
Dry tenders usually mean the temperature was too high or the cook time was too long. Chicken breast is lean. It dries out fast.
Try lowering the temperature to 375°F and checking doneness earlier. A thermometer takes the guesswork out.
How do I reheat leftover chicken tenders in the air fryer?
Reheating is simple. Set the air fryer to 350°F. Place the tenders in a single layer and heat for 3 to 4 minutes.
This restores crispiness without drying them out. Avoid the microwave, which makes the breading rubbery. For other air fryer reheating tips, check our guide on reheating steak.
Can I stack chicken tenders in the air fryer?
Stacking is not recommended. The tenders need direct hot air contact on all sides. If they overlap, the covered areas steam instead of crisp.
Always arrange them in a single layer. If you have a full bag, cook in two batches.
What is the best temperature for chicken tenders in an air fryer?
375°F is the sweet spot for most tenders. It's hot enough to crisp the outside but gentle enough to keep the inside moist. For breaded frozen tenders, 400°F works better because the coating needs higher heat to brown.
For thicker tenders, 375°F allows the center to cook through without burning the outside.
If you're cooking other frozen foods alongside, our guide on frozen chicken nuggets has similar timing. For a full protein prep strategy, the Sunday meal prep method is a lifesaver for busy families. And if you're wondering how different air fryer models perform, the comparison between Cosori and Ninja models is worth reading before your next upgrade.
Final Takeaway: Your Go-To Recipe for Perfect Air Fryer Chicken Tenders
Here's what to remember.
Preheat to 375°F to 400°F. Arrange tenders in a single layer. Lightly spray with oil.
Cook for 8 to 15 minutes depending on thickness and whether they're frozen. Flip or shake halfway. Always confirm 165°F with a thermometer.
That's it. No special tricks needed.
The air fryer is one of the most forgiving kitchen tools once you understand these basics. You can experiment with seasoning blends, breading styles, and dipping sauces. The core principles stay the same.
So grab your bag of tenders, set that timer, and trust the thermometer. You'll have crispy, juicy results every single time.
Try it tonight. You'll wonder why you ever used the oven.