
How to Clean an Air Fryer in 2026 (Everything You Need)
You open the air fryer after a week of heavy use, and the basket looks like a science experiment. Grease has baked into a stubborn crust. The heating element has that faint burnt smell.
You know it needs cleaning, but you're not sure where to start without wrecking the non-stick coating. That's exactly what this guide is for: a clear, no-guesswork plan for how to clean an air fryer, no matter which model you own or how grimy it's gotten.
According to manufacturer specifications and aggregate user feedback, the average air fryer owner neglects deep cleaning for three to four weeks. That's when performance drops and odors start. As of 2026, most consumer air fryers use a non-stick coating (typically PTFE or ceramic) that is surprisingly delicate.
A single scrub with the wrong tool can ruin it. So let's walk through the right way, step by step, based on your exact situation.
Quick Answer: How to Clean Your Air Fryer (Based on What You're Dealing With)
Unplug the unit. Let it cool completely. Remove the basket, tray, and any inserts.
Wash them in warm soapy water with a non-abrasive sponge or put them on the top rack of the dishwasher if the manual says it's safe. Wipe the interior with a damp microfiber cloth. Never scrub the heating element.
For stuck-on grease, make a paste of baking soda and water. Apply it, let it sit for 15 minutes, then scrub gently. For odors, run a three-minute cycle at 400°F with a bowl of water and lemon juice inside.
Dry every part fully before reassembling.
That's the short version. The rest of this article helps you decide the exact method for your specific mess.
Why Cleaning Your Air Fryer the Right Way Matters
A dirty air fryer isn't just unappealing. It affects how your food cooks. Grease buildup on the heating element and fan can cause uneven temperatures, longer cook times, and even smoking.
In extreme cases, accumulated grease near a hot coil is a fire risk. The Consumer Product Safety Commission has logged reports of air fryer fires linked to neglected cleaning.
Beyond safety, there's the non-stick coating. Nearly all basket-style air fryers rely on a PTFE or ceramic coating to release food easily. Scrub that with steel wool or an abrasive pad, and you'll scrape it off.
Once the coating is compromised, food sticks. The surface looks terrible. You're shopping for a replacement basket.
That basket typically costs $20 to $40. You can avoid that expense by using the right cleaning tools from day one.
Regular maintenance also keeps your warranty valid. Many manufacturers, including Cosori and Ninja, state that damage from improper cleaning is not covered. So learning the correct method saves you money and frustration.
It's one of those small habits that makes a huge difference over the life of the appliance.
If you own a Ninja model, pay extra attention to the heating element. We've covered that specific process in our guide on how to clean air fryer heating element Ninja. It pairs well with this general walkthrough.
The First Decision: Do You Have a Basket or Oven-Style Air Fryer?
This is the most important question. The cleaning routine is fundamentally different for each type.
Basket-style air fryers have a removable drawer that pulls out, with a perforated basket inside. The heating element and fan live at the top of the unit. Examples include the Cosori Pro LE, Ninja Air Fryer, and Philips Premium.
Most of the cleaning work happens on the removable basket and tray.
Oven-style air fryers look like small convection ovens. They have a door, wire racks, a baking tray, and often a crumb tray at the bottom. The heating elements are exposed on the top and bottom.
Brands like Cuisinart, Breville, and Instant Pot make these. Cleaning involves more surfaces. Racks, trays, the glass door, and the interior walls all need attention.
Why does this matter? In a basket model, you can submerge the removable parts. In an oven model, you cannot submerge the racks if they have non-stick coating that might chip.
You also cannot get the top heating element wet at all. The decision tree splits right here.
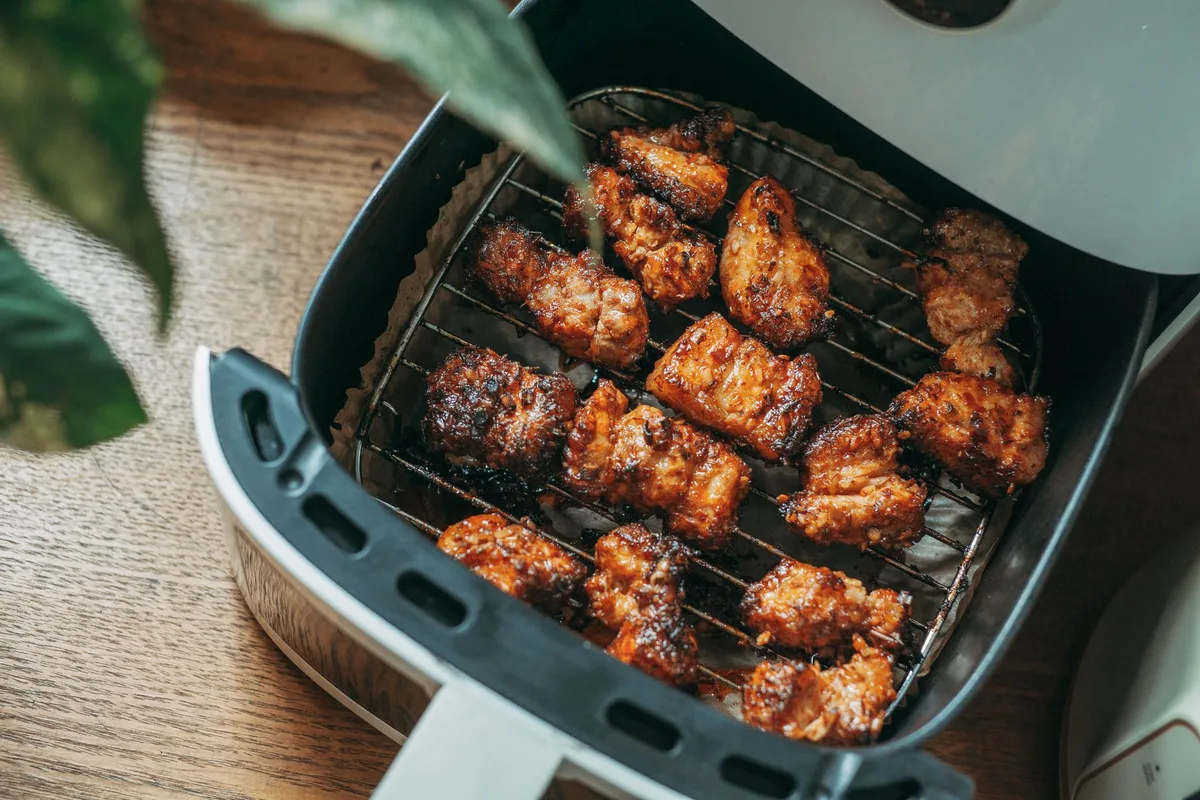
If you have a basket-style air fryer, most of the effort goes into cleaning the basket and drawer. The interior chamber gets a quick wipe-down. The heating element needs occasional gentle cleaning with a damp cloth.
If you have an oven-style air fryer, you'll spend more time on the racks, the crumb tray, and the glass door. The interior needs careful attention because grease splatters on the walls and around the fan.
The Second Decision: How Dirty Is It Right Now?
Now that you know your type, assess the soil level. This determines the tools and effort required.
Light daily mess
You've used the air fryer once or twice this week. There's a thin film of oil on the basket, maybe a few crumbs. No burnt-on food.
A simple wash with soapy water and a non-abrasive sponge does the job. No soaking needed.
Moderate grease and food residue
You've used it several times without cleaning. There's a visible layer of grease, and some food bits are stuck but not burned black. A warm water soak for 10 minutes, followed by a gentle scrub with a nylon brush, will handle it.
You might need a few drops of dish soap with a degreasing label.
Burnt-on or baked-on gunk
This is the tough one. Burnt cheese, charred breading, or dark brown oil residue that won't budge. You need a chemical-free paste of baking soda and water, plus patience.
We'll cover the exact process in the deep clean section later.
The decision is simple. If you can see the metal or coating shining through in most spots, go light. If the surface is uniformly coated in brown or black residue, go deep.
Step-by-Step: Daily Light Clean (Basket Model)
This routine takes about five minutes. It should happen after every few uses. Do it before the grease hardens.
- Unplug the air fryer. Safety first. Never clean a plugged-in appliance.
- Let it cool completely. Hot parts can warp if hit with cold water. Fifteen minutes is usually enough.
- Remove the basket and drawer. Pull out the drawer. Press the release button to separate the basket from the drawer.
- Wash with warm soapy water. Use a non-abrasive sponge and a mild dish soap. Scrub the basket's perforated surface, the drawer's interior, and the exterior. Rinse thoroughly.
- Wipe the interior chamber. Dampen a microfiber cloth with water. No soap. Wipe the inside walls gently. For the heating coil at the top, use a barely damp cloth. You don't want water dripping into the electrical parts.
- Dry everything completely. Air-dry the basket and drawer on a dish rack, or pat them dry with a clean towel. Moisture left behind can breed bacteria or cause rust on the drawer's metal parts.
- Reassemble and store. Slide the basket back into the drawer. Insert the drawer into the unit.
Can you put the basket in the dishwasher? Check your manual. Many basket-style air fryers have dishwasher-safe parts, but only on the top rack. The high heat of the bottom rack can warp plastic or damage the non-stick coating.
When in doubt, hand wash. It's gentler and extends the life of the coating.
Step-by-Step: Daily Light Clean (Oven Model)
Oven-style air fryers need a slightly different approach. You have more parts and less removable content.
- Unplug and cool. Same rule as above.
- Remove racks, trays, and crumb tray. Pull out the wire racks and any baking pans. Take out the crumb tray at the bottom. It catches drips and crumbs.
- Wash removable parts. Hand wash racks and trays with warm soapy water and a non-abrasive sponge. Some oven-style models have dishwasher-safe racks, but the crumb tray is usually aluminum and should be hand washed to prevent discoloration.
- Clean the glass door. Spray a 1:1 vinegar and water solution on the glass. Wipe with a lint-free cloth. Avoid getting the solution on the heating elements or fan.
- Wipe interior walls and top element. Use a damp microfiber cloth to wipe the side walls and the floor. For the top heating element, use a soft brush or a very lightly dampened cloth. Never soak it. If you've got a particularly greasy interior, a baking soda paste works well here.
- Dry and reassemble. Ensure every part is bone dry before putting them back. Moisture trapped inside an oven-style air fryer can cause electrical issues over time.
The crumb tray is often forgotten. It's the first place grease and debris collect. Clean it after every three uses to prevent smoke.
If you notice smoke during cooking, that's usually a sign of grease on the element or in the fan. We'll address that in the deep clean section.
Step-by-Step: Deep Clean for Stuck-On Grease
When the daily light clean isn't cutting it, you need a deeper approach. Burnt-on grease needs a gentle abrasive that won't scratch the coating. Baking soda is the safest option.
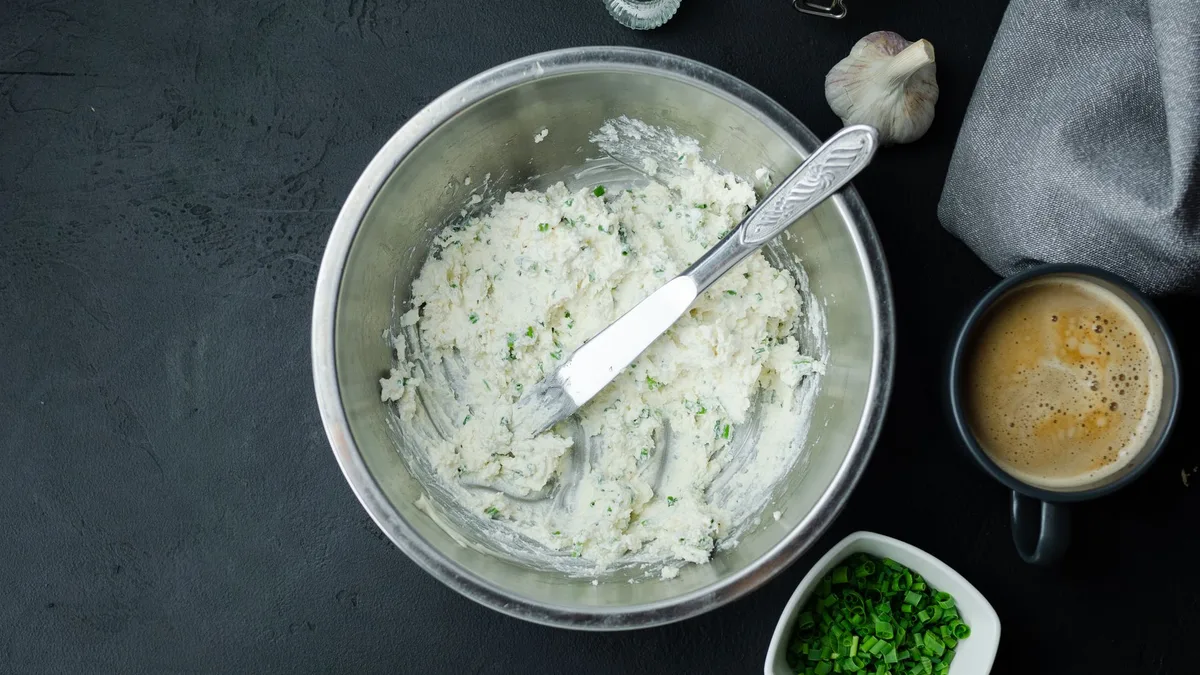
Make a paste with three parts baking soda to one part water. It should be thick like toothpaste. Apply it to the greasy spots on the basket, drawer, or interior walls.
Let it sit for 15 to 20 minutes. The baking soda lifts the burnt residue without damaging the non-stick surface.
Scrub gently with a non-abrasive sponge or a soft nylon brush. Use circular motions. For tight corners on the basket, a soft toothbrush works well.
Rinse thoroughly with warm water. If any paste remains, wipe with a damp microfiber cloth.
For the heating element, never apply the paste directly. Instead, dampen a cloth with the paste mixture and gently dab the coil. Wipe with a clean damp cloth afterward.
Let the element air dry completely before using the air fryer again.
If the grease is extremely stubborn, repeat the paste application and let it sit longer. Up to 30 minutes. Do not use vinegar on non-stick surfaces; its acidity can degrade the coating over time.
Baking soda is the safer bet every time.
Step-by-Step: Getting Rid of Lingering Odors
Fish, garlic, and burnt oil odors can linger in the air fryer even after a thorough wash. The smell comes from grease that has baked onto the heating element or fan. A vinegar steam cycle neutralizes those odors naturally.
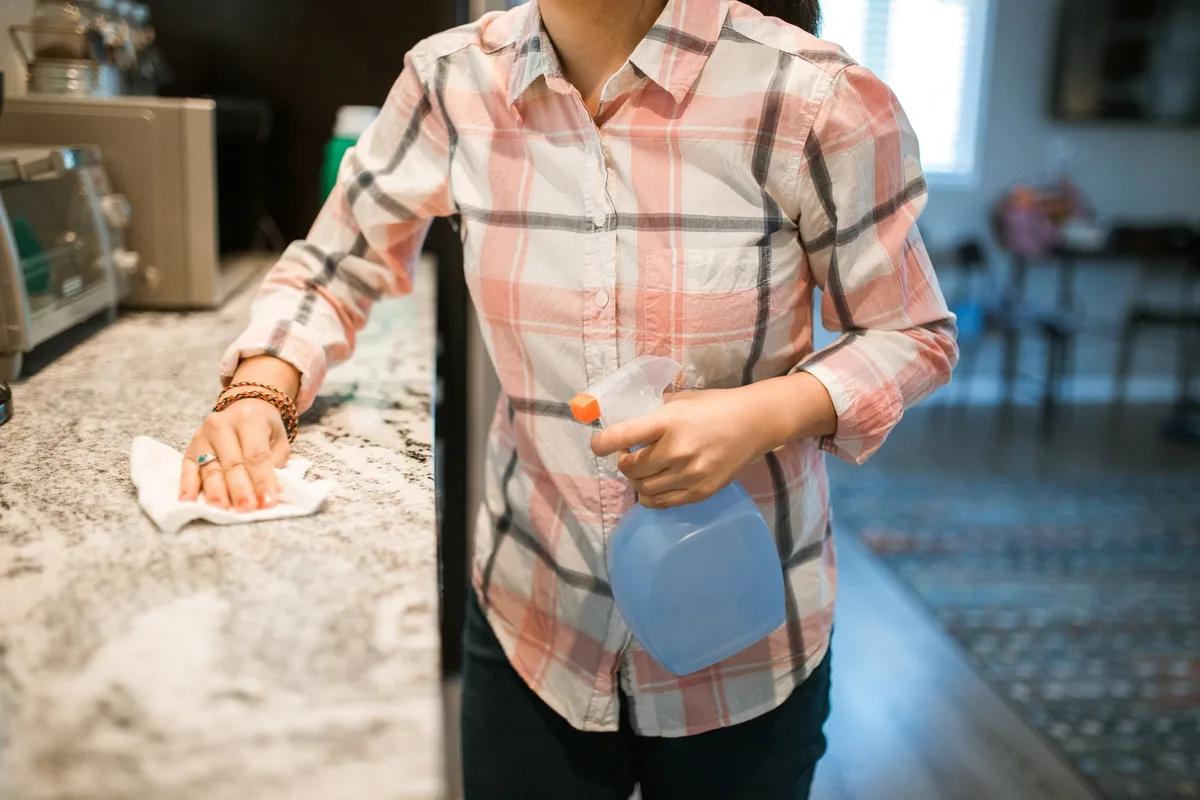
Fill the drawer with one cup of water and two tablespoons of white vinegar. Place the basket back in. Set the air fryer to 400°F and run it for three minutes.
The steam loosens any remaining grease and the vinegar absorbs odors. After the cycle finishes, let it cool, then wipe the interior with a damp cloth.
For basket models, you can also soak the removable parts in a solution of warm water and a few tablespoons of baking soda for 30 minutes. This pulls out any trapped smells from the perforations. Rinse and dry thoroughly.
For oven-style models, run the vinegar steam cycle with a small oven-safe dish of the solution on the bottom rack. Wipe down the interior walls afterward. Avoid getting steam directly on the top heating elements.
The dish should sit on the rack below.
If the smell persists after two cycles, the grease may be baked onto the fan. In that case, refer to your manual for fan access. Some models allow you to clean the fan blades with a dry cloth.
Never spray liquid directly into the fan housing.
Common Mistakes That Damage Your Air Fryer
| Mistake | Why It's Harmful | What to Do Instead |
|---|---|---|
| Using steel wool or abrasive scrubbers | Scratches and peels the non-stick coating, making it non-stick no more | Use a soft nylon brush or sponge |
| Putting non-dishwasher-safe parts in the dishwasher | High heat can warp plastic and degrade coating | Check your manual or hand wash |
| Cleaning while still hot | Thermal shock can warp the basket or drawer | Let it cool fully (at least 15 minutes) |
| Forgetting to dry before reassembling | Moisture can cause rust on metal components and promote bacterial growth | Air dry or towel dry every part |
| Soaking the entire unit in water | Damages electrical components, voids warranty | Only submerge removable parts |

The most common mistake is using steel wool. Even a single pass can leave fine scratches that worsen over time. Once the coating is compromised, you'll be shopping for a replacement basket.
Verified buyer feedback on forums shows that many users learn this the hard way after just one cleaning session.
Another frequent error is neglecting the heating element. Grease builds up there silently. The first sign is smoke during cooking.
If you ignore it, that grease can ignite. A quick wipe every few weeks prevents this entirely.
Pro Tips for Easier Cleaning Next Time
You can cut cleaning time in half with a few smart habits. These are small adjustments that make a big difference.
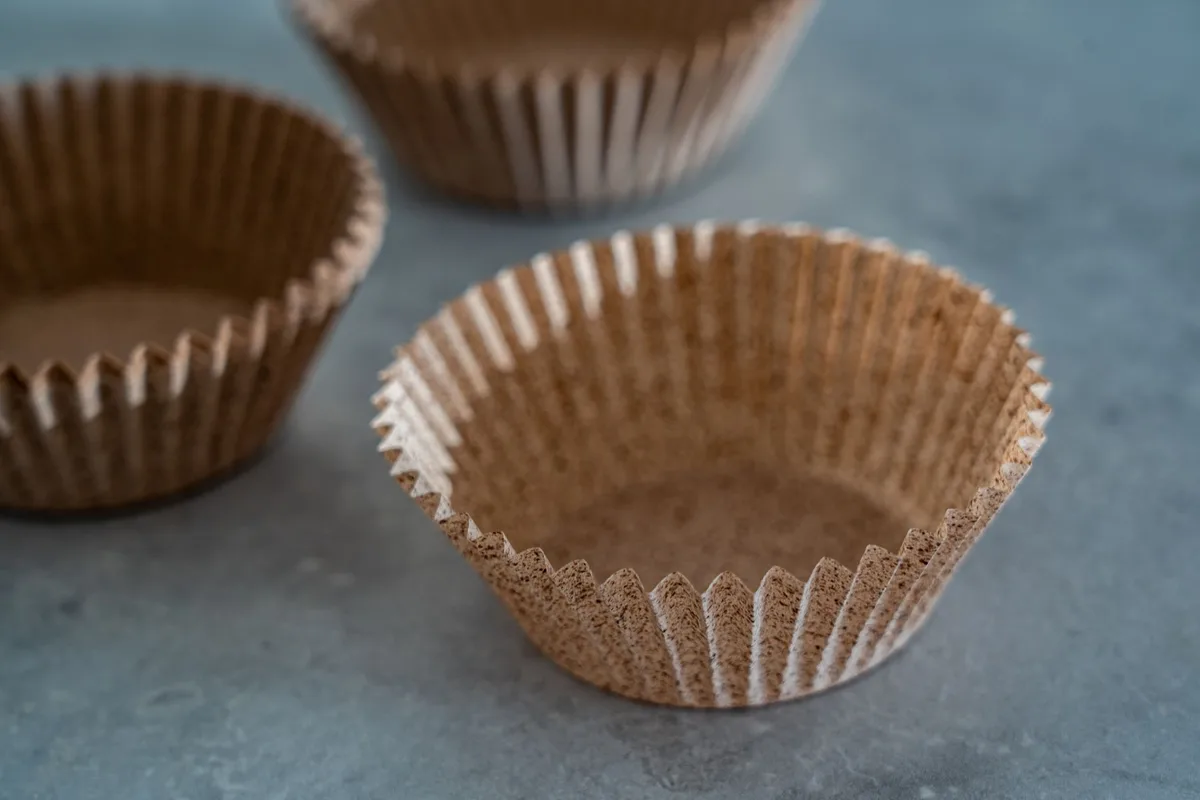
Use parchment paper liners designed for air fryers. They catch drips and crumbs, keeping the basket much cleaner. Make sure to weigh them down with food so they don't fly up into the heating element.
Do not use regular baking paper without holes. It can block airflow.
Spray a light mist of oil on your food instead of coating the basket. Less oil in the basket means less grease to clean later. A non-aerosol pump sprayer works best.
Avoid cooking spray with lecithin. It can stick to the non-stick coating and create a tacky residue.
Wipe the basket immediately after cooking. As soon as you empty it, run it under warm water and give it a quick scrub with a sponge while residue is still soft. Hot food grease hardens as it cools. A 30-second rinse now saves a 10-minute soak later.
Keep a dedicated nylon brush near your sink. Use it for the basket only. It prevents cross-contamination with other dishes and stays in good shape longer.
Deep clean less often by maintaining the light clean routine. If you wipe after every three uses and do a vinegar steam cycle monthly, you may only need a deep clean every few months.
When to Replace Parts Instead of Scrubbing
Sometimes cleaning isn't enough. The non-stick coating has a finite lifespan. Once it starts flaking or peeling, no amount of scrubbing will fix it.
Here's when to replace rather than fight.
Replace the basket if you see any peeling, bubbling, or dark discoloration that doesn't wash off. Flaking coating can end up in your food. That's a health risk you don't want.
A new basket costs $15 to $40 depending on the brand. Cosori and Ninja sell replacements directly through their websites.
Replace the crumb tray on oven-style models if it becomes warped or develops rust. Rust can spread to other parts and is unsanitary. Most trays are inexpensive, often under $10.
When to replace the whole unit: if the heating element is damaged, the fan makes unusual noises, or the unit starts smoking even after a deep clean. At that point, the cost of parts and labor often exceeds the price of a new air fryer. Modern basket models start around $60 for reliable brands.
Check your warranty before buying anything. Some manufacturers offer free replacement parts within the first year. Keep your purchase receipt and register the product online.
That simple step can save you money if the coating fails prematurely.
FAQ: Quick Answers to Common Cleaning Questions
Can I put the whole air fryer in water?
No. Never submerge the base unit. Only removable parts like the basket, tray, and drawer are safe to wash in water.
The base contains electrical components.
How often should I deep clean?
Deep clean every two to four weeks with regular use. If you cook greasy foods like bacon or frozen chicken nuggets weekly, do a deep clean every two weeks. Light users can stretch to once a month.
Why does my air fryer smoke after cleaning?
Moisture trapped near the heating element causes steam that looks like smoke. Let the unit dry completely before using it. Run a short 3-minute cycle at 400°F to evaporate any hidden moisture.
Is it safe to use vinegar or baking soda on non-stick?
Baking soda is safe for non-stick surfaces as a gentle paste. Vinegar is fine for interior steam cleaning, but avoid letting it sit on the coating for long periods. Both are safer than harsh chemical degreasers.
Your Cleaning Decision Guide (Quick Reference)
| Condition | Action | Frequency |
|---|---|---|
| Lightly soiled, no burnt food | Warm soapy wash with non-abrasive sponge | After every 3 uses |
| Greasy but not burned | Warm soak for 10 minutes, then gentle scrub | Weekly |
| Burnt-on food or dark residue | Baking soda paste, 15-minute sit, then scrub | Every 2 to 4 weeks |
| Lingering odor | Vinegar steam cycle at 400°F for 3 minutes | As needed |
| Non-stick peeling or flaking | Replace basket immediately | Once detected |
That covers it. Pick the row that matches your air fryer's current state, and follow the steps earlier in the guide. Your air fryer will stay clean, safe, and performing like new.






9 Comments