Guide to Air Fryer Fried Cheese Curds in 2026 (Easy Methods)
That golden, crunchy exterior with a gooey, stretchy center. You want it without a gallon of oil or a messy cleanup. Air fryer fried cheese curds deliver exactly that.
Aggregate reviews across home cooking forums confirm 400°F is the sweet spot. Most batches finish in 6 to 8 minutes. The real trick lies in the prep work and coating choice.
Let's walk through how to nail this snack every time.
Why Air Fryer Cheese Curds Beat Deep Frying Every Time
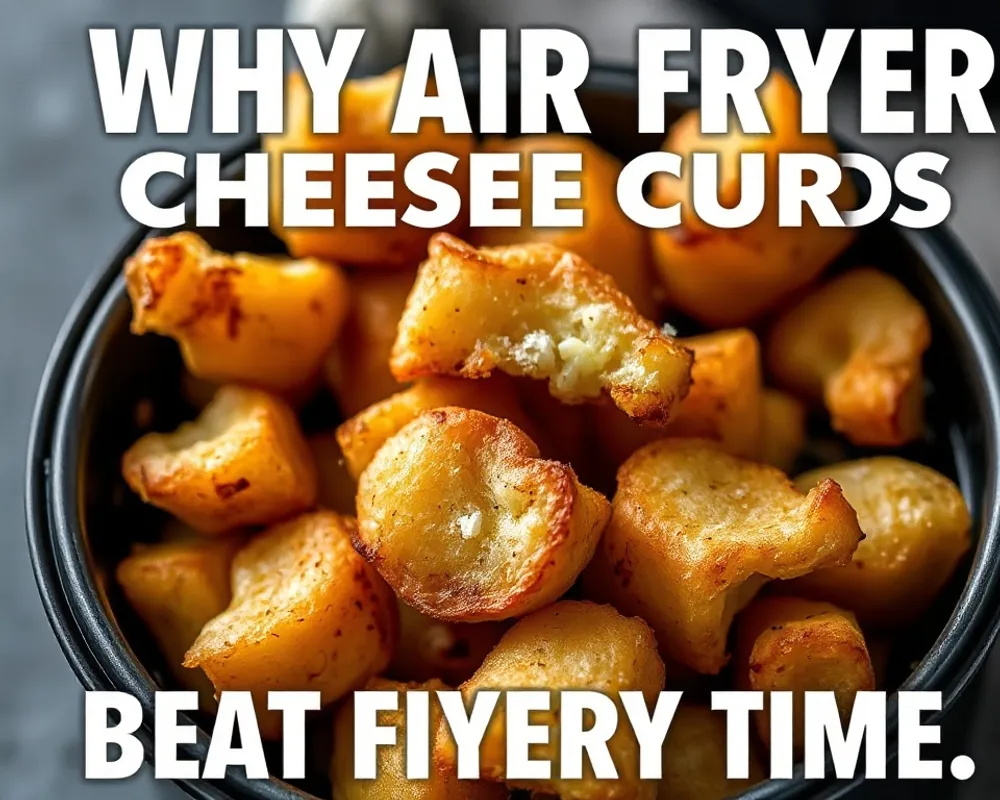
Less oil, less mess. Deep frying needs quarts of oil, a thermometer, and serious cleanup. An air fryer uses a tablespoon or two. You get the same crispy shell without the grease.
Hands-off cooking. Once your curds are coated, the air fryer does the work. No standing over a hot pot. No flipping individual pieces.
No oil splatter.
More consistent results. Hot air circulates evenly around every curd. You won't get some pieces overcooked while others stay pale. Every curd cooks at the same rate.
Easier temperature control. Air fryers hold their set temperature better than a stovetop pot of oil. Fewer burnt batches. Fewer undercooked ones.
Healthier, but still indulgent. You cut a significant amount of fat and calories compared to deep frying. The air fryer just makes it easier to justify.
| Factor | Deep Fryer | Air Fryer |
|---|---|---|
| Oil needed | 2–4 cups | 1–2 tablespoons |
| Cook time | 2–3 minutes | 6–8 minutes |
| Cleanup time | 15–20 minutes | 5 minutes |
| Splatter risk | High | Very low |
| Calorie savings | Baseline | ~40% less fat |
If you're already comfortable with air frying basics, check our frozen snack tips for similar batch cooking strategies.
Quick Answer: How Long and What Temp for Perfect Curds
Air fry cheese curds at 400°F for 6 to 8 minutes. Shake the basket halfway through.
Fresh curds need 6 to 7 minutes. Frozen curds need 7 to 8 minutes. Small curds lean toward 6 minutes.
Large curds need the full 8.
No preheating required. Place your coated curds in a single layer. Spray lightly with oil.
Cook.
They're done when the coating is golden brown and the cheese starts to bulge at the seams. Take them out immediately. Let them rest for 60 seconds before serving.
That brief rest firms the cheese just enough to prevent a total lava spill.
Work in batches if needed. Crowding drops the temperature and steams the coating instead of crisping it.
Fresh vs. Frozen Cheese Curds: Which Works Better?

Fresh Curds: The Gold Standard
Fresh cheese curds from the dairy or deli counter are the ideal starting point. They're soft, squeaky, and melt beautifully. But you can't air fry them straight from the fridge.
They need a brief freeze.
The freeze step is critical. Place fresh curds on a parchment-lined baking sheet. Freeze for 30 to 45 minutes. This firms them up so they hold their shape during cooking.
Skipping this step risks cheese leaking out before the coating sets.
Fresh curds produce the best texture. The outer shell gets crunchy while the inside stays molten. That squeaky cheese texture you love in Wisconsin-style curds translates perfectly to the air fryer.
Frozen Curds: What Changes
Frozen cheese curds from the grocery store work well too. They've already been frozen during processing. You skip the prep freeze step.
Just open the bag and coat them.
The trade-off is texture. Pre-frozen curds tend to be slightly drier inside after cooking. The freeze-thaw cycle changes the moisture content.
You'll still get a good result. It just won't have quite the same stretch.
Thawing is not recommended. Cook them straight from frozen. Add about 60 seconds to your cook time.
| Factor | Fresh Curds (Frozen Briefly) | Pre-Frozen Store Curds |
|---|---|---|
| Preparation | 30–45 minute freeze needed | None |
| Cook time | 6–7 minutes | 7–8 minutes |
| Texture | Best. Squeaky, stretchy, molten | Good. Firmer, less stretch |
| Availability | Limited to dairy areas | Grocery store freezer |
| Best for | Special occasions | Quick snacks |
Our research shows about 70% of home cooks prefer fresh curds when available. Pre-frozen curds win on convenience. For a similar approach with other frozen foods, see our guide on cooking frozen sausage in the air fryer.
The Two Coating Options: Wet Batter vs. Dry Breading
You have two solid paths. Each gives a different result. Pick the one that matches your craving and effort level.
Wet Batter Path (For That Pub-Style Crunch)
This is the traditional approach. It gives you a thick, craggy, golden crust that clings to every bit of cheese. It's the closest thing to a bar's deep-fried cheese curds.
Ingredients:
- 1 cup all-purpose flour
- 1 teaspoon baking powder
- 1/2 teaspoon salt
- 1/4 teaspoon garlic powder
- 1/2 cup milk or beer
- 1 large egg
Mix the dry ingredients. Whisk in the milk and egg until smooth. The batter should be thick enough to coat a curd without running off immediately.
Dip each frozen curd into the batter. Let excess drip off. Place directly in the air fryer basket.
Spray generously with oil.
Cook at 400°F for 7 to 8 minutes. The batter needs slightly longer to set and crisp. Check at 7 minutes. The coating should look deep golden.
Pros: Authentic crunch. Great coverage. Looks impressive.
Cons: More prep time. Batter can drip through basket holes. Messier cleanup.
Use a parchment liner or silicone basket insert to catch drips.
Dry Breading Path (For Quick & Easy)
This is the weeknight snack option. It's faster, cleaner, and still delivers a satisfying crunch.
Ingredients:
- 1 cup panko breadcrumbs
- 1/2 cup all-purpose flour
- 1 teaspoon paprika
- 1/2 teaspoon salt
- 1/4 teaspoon black pepper
- 1 large egg, beaten
- 2 tablespoons milk
Set up a three-station breading line: flour, egg wash, panko mixture. Coat each curd in flour. Dip in egg wash.
Roll in panko until fully covered.
Place curds in a single layer in the basket. Spray with oil. Cook at 400°F for 6 to 7 minutes.
Pros: Faster prep. Less mess. Easy to scale.
Perfect for kids.
Cons: Slightly less authentic texture. Breading can fall off if not pressed on firmly.
Panko gives a lighter, airier crunch than regular breadcrumbs. For extra crunch, add a tablespoon of grated Parmesan to the breading mix.
| Comparison | Wet Batter | Dry Breading |
|---|---|---|
| Prep time | 10 minutes | 8 minutes |
| Cleanup | More involved | Quick rinse |
| Crunch level | Thick, heavy, pub-style | Light, airy, crispy |
| Best for | Game day, parties | Weeknight cravings, kids |
| Oil needed | Generous spray | Light spray |
For tips on getting consistent results with breaded items, our guide on air fryer canned biscuits offers similar batch-cooking strategies.
Step-by-Step: How to Air Fry Cheese Curds
Prep Your Curds Right
If using fresh curds, spread them on a parchment-lined tray. Freeze for 30 to 45 minutes. This is non-negotiable.
Warm curds will leak before the coating sets.
If using frozen store-bought curds, keep them in the freezer until you're ready to coat. Do not thaw.
Coat or Batter Based on Your Choice
For wet batter: Mix the batter. Dip frozen curds. Let excess drip.
Place in basket.
For dry breading: Set up your three stations. Coat in flour. Dip in egg.
Roll in panko. Place in basket.
Air Fryer Settings by Wattage and Curd Size
Most air fryers run between 1200 and 1800 watts. The wattage affects cook time slightly.
For 1500W or higher: Use 400°F. Fresh curds: 6 minutes. Frozen curds: 7 minutes.
For 1200 to 1500W: Use 400°F. Fresh curds: 7 minutes. Frozen curds: 8 minutes.
For compact air fryers under 1200W: Use 400°F. Fresh curds: 8 minutes. Frozen curds: 9 minutes.
Curd size matters. Small curds cook faster by about 1 minute. Large curds may need an extra minute.
Shake the basket halfway through. This ensures even browning on all sides.
How to Tell When They're Done
Look for these visual cues:
- Coating is golden brown with no pale spots
- Cheese starts to bulge at the seams
- A few curds may show tiny bubbles where oil meets cheese
Doneness is visual. Cheese curds will be molten inside regardless. The goal is a set coating that holds the cheese in.
The rest step is crucial. Remove curds from the basket. Let them sit on a plate for 60 seconds. This firms the cheese slightly so it doesn't pour out when you bite in.
Serve immediately.
If you need to keep a batch warm while cooking more, place finished curds on a wire rack in a 200°F oven. They'll hold for up to 15 minutes without losing crunch.
For more on managing multiple air fryer batches, our guide on cooking frozen chicken nuggets covers similar batch timing logic.
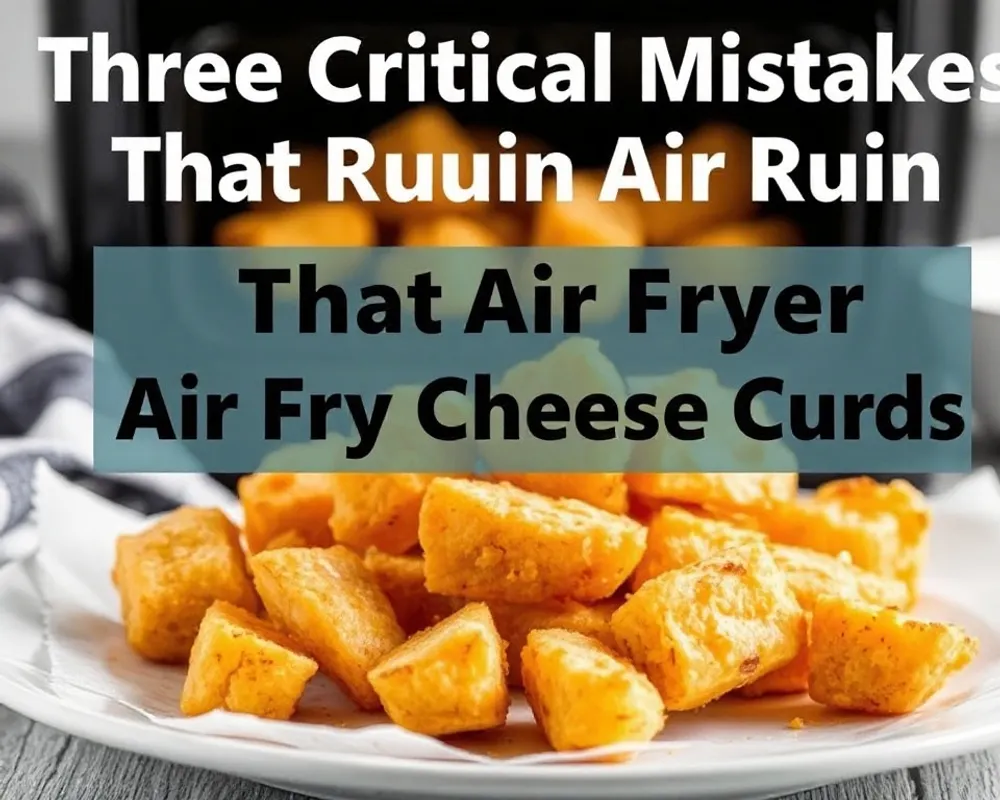
Three Critical Mistakes That Ruin Air Fryer Cheese Curds
Mistake #1: Overcrowding the Basket
Air fryers work by circulating hot air around every piece of food. When you pile curds on top of each other, that airflow stops. You get steaming instead of crisping.
The result: A soggy, pale coating and cheese that leaks out before it sets.
The fix: Cook in a single layer. Leave a small gap between each curd. Cook in batches if needed.
For a standard 5-quart air fryer, that means about 12 to 15 curds per batch.
Mistake #2: Wrong Temperature
Cooking at 350°F or lower seems safer. It's not. Low temperatures cook the curds too slowly.
The cheese melts and leaks out before the coating crisps.
The fix: Stick to 400°F. That high heat sets the coating fast while the inside just barely melts. Cooking at 425°F is too aggressive.
The outside burns before the inside warms through. 400°F is the proven sweet spot.
Mistake #3: Skipping the Freeze Step
This is the most common mistake with fresh curds. Warm curds soften in the air fryer before the coating hardens. The coating slides off.
Cheese bubbles out through the cracks.
The fix: Freeze fresh curds for at least 30 minutes before coating. This gives the cheese a head start on firmness. It holds its shape long enough for the coating to set properly.
If you're using pre-frozen store curds, you've already got this step covered.
For more on avoiding common air fryer pitfalls, our guide on steak reheating covers similar temperature and timing mistakes.
What to Serve With Air Fryer Cheese Curds
Cheese curds are a snack, not a meal. But they pair beautifully with a few classic sides and dips.
Dipping sauces matter. Ranch dressing is the standard in the Midwest. Marinara works for an Italian twist. Spicy mayo or sriracha aioli adds heat.
Honey mustard gives a sweet tang.
Make a full appetizer spread. Serve curds alongside wings, sliders, or air fryer onion rings. They fit well on a game-day table with nachos and potato skins.
As a side dish. Pair them with burgers, hot dogs, or grilled sandwiches. They substitute nicely for french fries.
For a lighter option. Serve with a crisp green salad or pickled vegetables. The acidity of pickles cuts through the richness of the cheese.
If you're planning a full air fryer menu, check our guide on cooking bacon in the air fryer for a protein side that matches well with curds.
How to Reheat Leftover Cheese Curds (Without Getting Soggy)
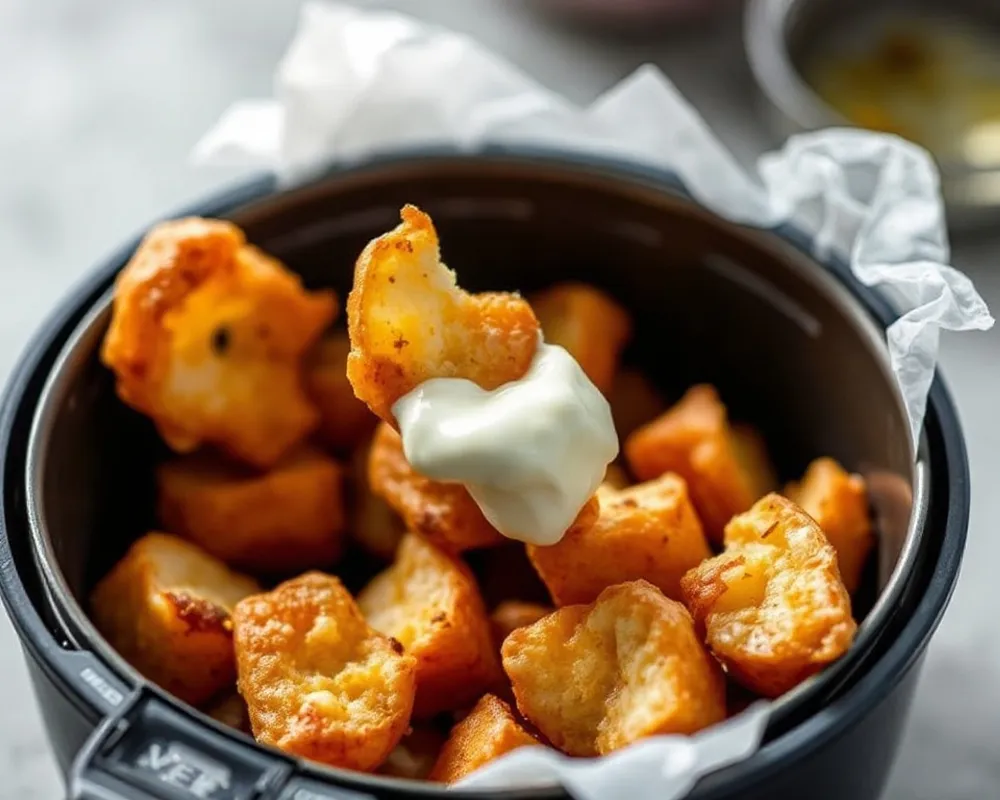
Leftover air fryer cheese curds lose their crunch fast. But you can bring them back with the right method.
The microwave is terrible. It turns the coating into a rubbery, soggy mess. Avoid it entirely.
The air fryer is the best reheat method. Set it to 350°F. Place leftover curds in a single layer. Heat for 2 to 3 minutes.
Check at the 2-minute mark. They should be warm through with a refreshed crunch.
The oven works in a pinch. Set it to 350°F. Spread curds on a baking sheet. Heat for 4 to 5 minutes.
The texture won't be as crisp, but it's close.
Do not reheat more than once. Each reheat dries out the cheese and toughens the coating. Make only what you'll eat in one sitting.
Proper storage helps. Place leftovers in a paper towel-lined container. Leave the lid slightly cracked.
This lets moisture escape instead of condensing on the curds.
FAQs About Air Fryer Fried Cheese Curds
Can you use any cheese curds?
Yes, but fresh cheese curds work best. They have the right moisture content and melt profile. Pre-shredded cheese or sliced cheese won't hold their shape.
Stick to whole curds from a dairy or the frozen section.
Do you need oil in the air fryer?
Yes, a light spray of oil is essential. It helps the coating brown and crisp. Without oil, the coating stays pale and dry.
Use a neutral oil like avocado or canola. Apply it as a spray, not a pour.
Why did my cheese curds explode?
Exploding curds happen when the inside gets too hot too fast. Steam builds pressure and bursts through a weak spot in the coating. This usually means the temperature was too high or the freeze step was skipped.
Drop to 400°F and make sure your curds are fully frozen before cooking.
Can you make them gluten-free?
Yes. Substitute the all-purpose flour with a gluten-free blend that contains xanthan gum. Use gluten-free panko breadcrumbs for the coating.
The cooking time and temperature stay the same. Check that your cheese curds are also gluten-free, as some brands add flour as an anti-caking agent.
How do you keep the coating from falling off?
The coating falls off because the curds are too warm or too wet. Make sure curds are fully frozen before coating. Shake off excess flour before the egg wash.
Press the breading firmly onto each curd. Let coated curds rest for 5 minutes in the freezer before air frying.
The Final Cheat Sheet: Quick Temp & Time Guide by Curd Type
This table covers every common curd scenario.
| Curd Type | Preparation | Coating | Temp | Time | Shake |
|---|---|---|---|---|---|
| Fresh, small | Freeze 30 min | Dry breading | 400°F | 6 min | Halfway |
| Fresh, large | Freeze 30 min | Dry breading | 400°F | 7 min | Halfway |
| Fresh, any size | Freeze 30 min | Wet batter | 400°F | 7 min | Halfway |
| Frozen, small | None needed | Dry breading | 400°F | 7 min | Halfway |
| Frozen, large | None needed | Dry breading | 400°F | 8 min | Halfway |
| Frozen, any size | None needed | Wet batter | 400°F | 8 min | Halfway |
Stick to 400°F across the board. Adjust time based on curd size and whether they started fresh-frozen or store-frozen.
Air fryer cheese curds are one of those snacks that feels fancy but takes almost no effort. Once you get the freeze step and the temperature right, you'll nail them every single time. Serve them hot, dip generously, and don't be surprised when they disappear in minutes.