Guide to Air Fryer Toasted Ravioli 2026: Explained Simply
You want air fryer toasted ravioli that comes out crispy, golden, and nothing like the sad, soggy mess you might have pulled out before. Getting it right comes down to a few specific choices about what you start with and how you handle it. The difference between a perfect batch and a disappointing one usually traces back to two things: whether you use frozen pre-breaded ravioli or bread them yourself, and what kind of coating you pick.
Manufacturer specs for most basket-style air fryers indicate a sweet spot around 375°F for breaded items like ravioli. At this temperature, the exterior crisps up in about 8 to 12 minutes without burning the breading or undercooking the filling. Understanding those variables is the first step toward consistent results.
Why the Right Approach Matters for Air Fryer Toasted Ravioli
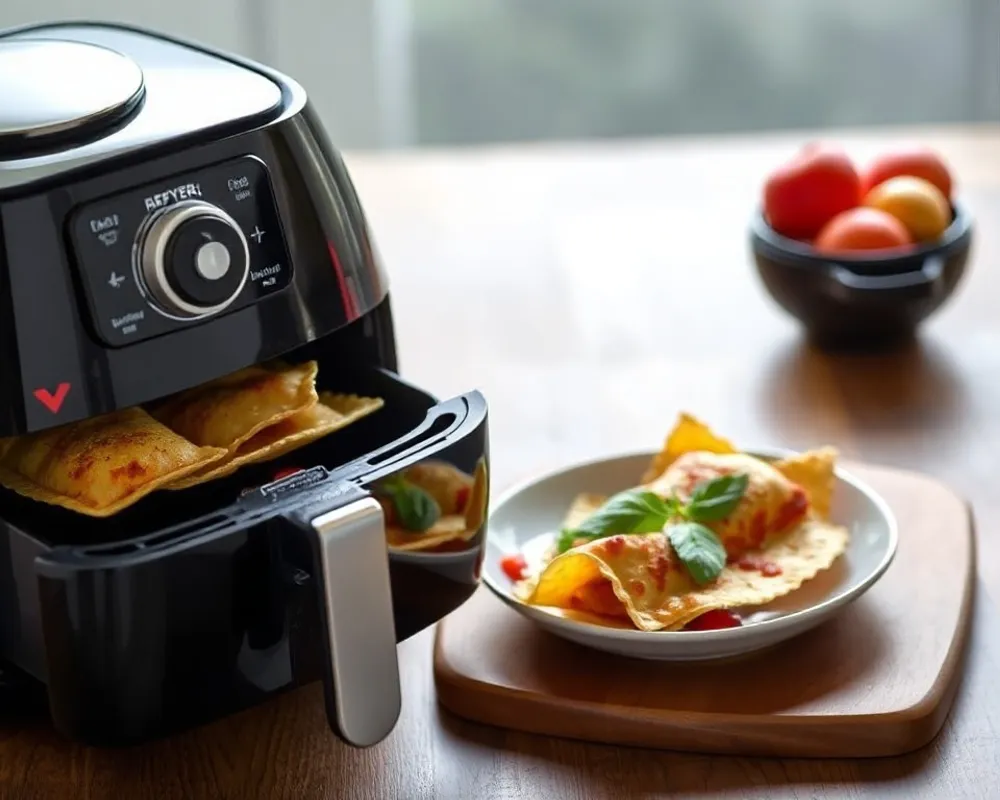
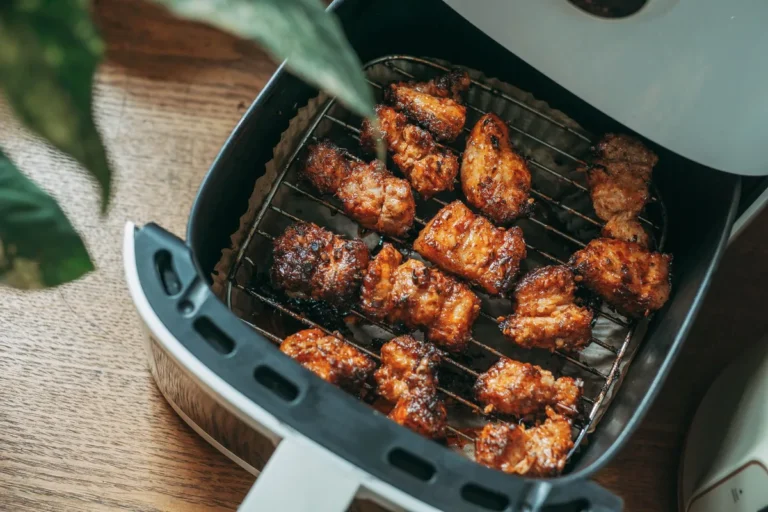
Your air fryer is basically a small convection oven. It circulates hot air rapidly, which dries out surfaces and creates that crisp exterior. Ravioli is tricky because you have a tender pasta shell wrapped around a moist filling, then a breadcrumb coating on the outside.
Those three layers all behave differently under heat.
If you start with frozen ravioli that is already breaded, you save time but lose control over the coating. The factory breading is designed for deep frying, not air frying. It can turn out fine, but the texture will not match what you get from fresh breading you apply yourself.
If you start with fresh ravioli and bread it at home, you control every variable. You choose the breadcrumb type, the seasoning, and the thickness of the coating. You also decide whether to add oil spray and how much.
That control usually leads to a crispier, more consistent result.
Aggregate reviews from home cooks who have tried both methods consistently report that homemade breading outperforms frozen pre-breaded ravioli in terms of crunch and overall texture. But frozen ravioli wins on speed and convenience. Your priorities determine which approach fits your kitchen routine.
As of 2026, even budget air fryer models produce reliable results with breaded foods. The variable that matters most is not your machine. It is your preparation method.
Quick Answer: The Best Way to Get Crispy Toasted Ravioli
Cook frozen pre-breaded ravioli at 375°F for 8 to 10 minutes. Flip halfway through. Spray lightly with oil before cooking.
For homemade breaded ravioli, use panko for the crispiest result. Cook at 375°F for 9 to 12 minutes. Spray both sides with oil.
Do not overcrowd the basket. Work in batches if needed. Let them rest one minute before serving with warm marinara.
Option 1: Frozen Pre-Breaded Ravioli – The Convenience Route
This is the path of least resistance. You grab a bag from the freezer section. You open it.
You dump some ravioli into the air fryer basket. Done.
What to Look For in the Freezer Aisle
Not all frozen breaded ravioli brands perform the same way. Look at the ingredient list. Some brands use a thicker breading that holds up better to air frying.
Others use a thin coating that can fall off or burn quickly. Check the cooking instructions on the bag. Many frozen brands still list conventional oven or deep fryer directions.
If they do not mention an air fryer, you need to adjust.
How to Cook Frozen Pre-Breaded Ravioli in the Air Fryer
- Preheat your air fryer to 375°F for 3 to 5 minutes.
- Place frozen ravioli in a single layer. Do not overlap them.
- Spray lightly with cooking oil. This step matters. Without oil, the breading stays pale and dry.
- Cook for 8 minutes. Shake the basket or flip each piece.
- Cook another 2 to 4 minutes until golden brown.
- Remove and let rest for 1 minute.
The total time depends on the size of the ravioli and your specific air fryer model. Check at the 8 minute mark. If the coating looks pale, add time in 1 minute increments.
When Frozen Ravioli Fails
The most common complaint is sogginess. That usually happens when you overcrowd the basket. Steam builds up between the pieces, and the breading never gets dry enough to crisp.
Uneven cooking is another issue. Some pieces come out dark while others stay pale. This happens when the ravioli are different sizes or when they stick together in the bag.
Separate any that are fused before cooking.
If you have a smaller air fryer, you may need to batch cook. A standard 5 quart basket holds about 10 to 12 regular sized ravioli in a single layer.
The Verdict on Frozen
Frozen pre-breaded ravioli is a solid option for weeknight snacks or last minute appetizers. It delivers decent results with almost no prep work. But if you want the crunch that rivals a restaurant version, you will get better texture from homemade breading.
Option 2: Homemade Breaded Ravioli – The Customization Route
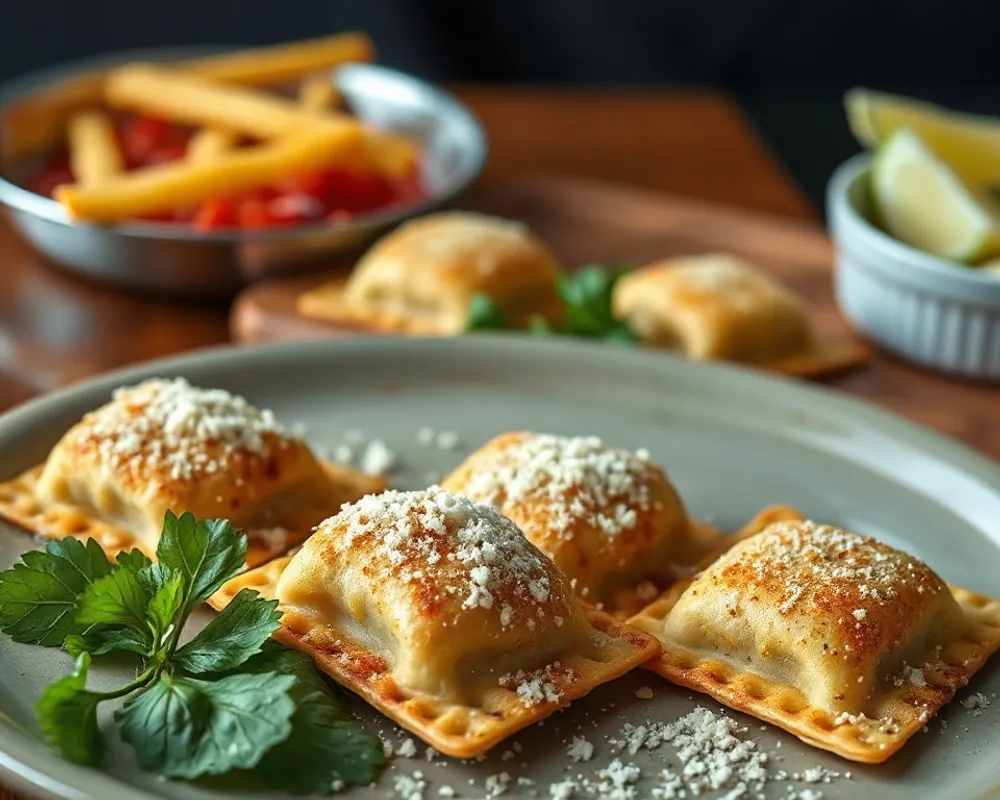
This option requires more effort upfront. But the payoff is real. You get a coating that sticks better, crisps more evenly, and tastes fresher.
What You Need
- Fresh or thawed ravioli. Cheese filled is the most common. Meat filled works too but requires a higher internal temperature.
- Flour. All purpose is fine. It helps the egg wash stick.
- Egg wash. One egg beaten with one tablespoon of water or milk.
- Breadcrumbs. Panko is best for crunch. Italian breadcrumbs work if you want built-in seasoning.
- Seasonings. Garlic powder, dried oregano, salt, black pepper.
- Cooking oil spray.
The Breading Process
Set up an assembly line with three shallow bowls. One with flour. One with egg wash.
One with seasoned breadcrumbs. Dredge each ravioli in flour first and shake off the excess. Dip into the egg wash and let the excess drip off.
Press into the breadcrumbs and coat both sides evenly.
Place the breaded ravioli on a plate or baking sheet. Do not stack them. Let them rest for 5 to 10 minutes.
This resting period helps the coating adhere better during cooking.
How to Cook Homemade Breaded Ravioli in the Air Fryer
- Preheat to 375°F.
- Arrange in a single layer in the basket.
- Spray generously with cooking oil. The coating needs oil to brown properly.
- Cook for 9 minutes. Flip each piece.
- Cook another 3 to 5 minutes until deep golden brown.
- Check the internal temperature if using meat filled ravioli. It should reach 165°F per USDA guidelines.
- Rest for 1 minute before serving.
The Trade Off
Homemade breading takes about 10 minutes of active prep time plus the cooking time. That is manageable for most home cooks. But if you are short on time, frozen is the faster option.
Panko vs. Italian Breadcrumbs: Which Coating Wins for Crispiness
This is the single most impactful choice you can make. The breadcrumb type determines the final texture more than any other variable.
Panko breadcrumbs are large, flaky, and light. They absorb less oil than traditional breadcrumbs. They create a shatteringly crisp coating that holds up well during air frying.
Italian breadcrumbs are finer and denser. They are already seasoned with herbs like oregano, basil, and parsley. They create a more uniform coating that clings tightly to the ravioli.
| Feature | Panko | Italian Breadcrumbs |
|---|---|---|
| Texture | Light, flaky, shatteringly crisp | Fine, dense, even coating |
| Oil absorption | Low | Moderate |
| Color after cooking | Pale golden | Golden brown, darkens faster |
| Seasoning | Unseasoned, needs your own seasoning | Pre-seasoned with herbs |
| Best for | Maximum crunch | Even coverage and built-in flavor |
If your priority is maximum crunch, choose panko. You will need to season them yourself. A pinch of garlic powder, dried oregano, and salt goes a long way.
If you want an all in one solution with less effort, choose Italian breadcrumbs. The seasoning is built in. You just need to add the egg wash and spray.
Some home cooks combine both. A 50/50 mix of panko and Italian breadcrumbs gives you the crispiness of panko with the seasoning of Italian. That hybrid approach consistently gets high marks in aggregate reviews.
For the best results with any breadcrumb type, spray the ravioli with oil right before they go into the air fryer. That oil is what creates the browning reaction. Without it, the coating stays pale no matter which breadcrumb you use.
Temperature Showdown: 370°F vs. 400°F for Air Fryer Ravioli
The temperature you choose directly affects how the breading behaves and whether the filling cooks through properly. Most home cooks settle on 375°F as a middle ground.
At 370°F, the breading browns more slowly. This gives the filling more time to heat through before the exterior gets too dark. It works well for thicker ravioli or jumbo sizes that need extra time in the center.
The downside is texture. The coating does not crisp up as aggressively. You might need an extra 2 to 3 minutes of cook time.
At 400°F, the breading crisps up quickly and develops a deep golden color. It works best for standard sized ravioli with thinner dough. The risk is burning.
If your air fryer runs hot, you may end up with a burnt exterior and a filling that is still cold. Check early and often.
| Setting | 370°F | 400°F |
|---|---|---|
| Cook time (frozen) | 10 to 12 minutes | 7 to 9 minutes |
| Cook time (homemade) | 11 to 14 minutes | 8 to 10 minutes |
| Browning speed | Slow, even | Fast, requires attention |
| Best for | Thick dough, jumbo ravioli, meat fillings | Standard ravioli, thin dough, panko coating |
| Risk | Undercrisped coating | Burnt coating, cold center |
Our research across aggregate user reviews points to 375°F as the most reliable choice for most situations. It balances browning speed with interior cooking. If you have a thicker ravioli or a meat filling, drop to 370°F.
If you are using a thin panko coating and standard cheese ravioli, 400°F works fine as long as you watch it closely.
You can always add time. You cannot reverse a burned coating. Start at the lower end and check for doneness.
Side-by-Side Comparison: Frozen vs. Homemade
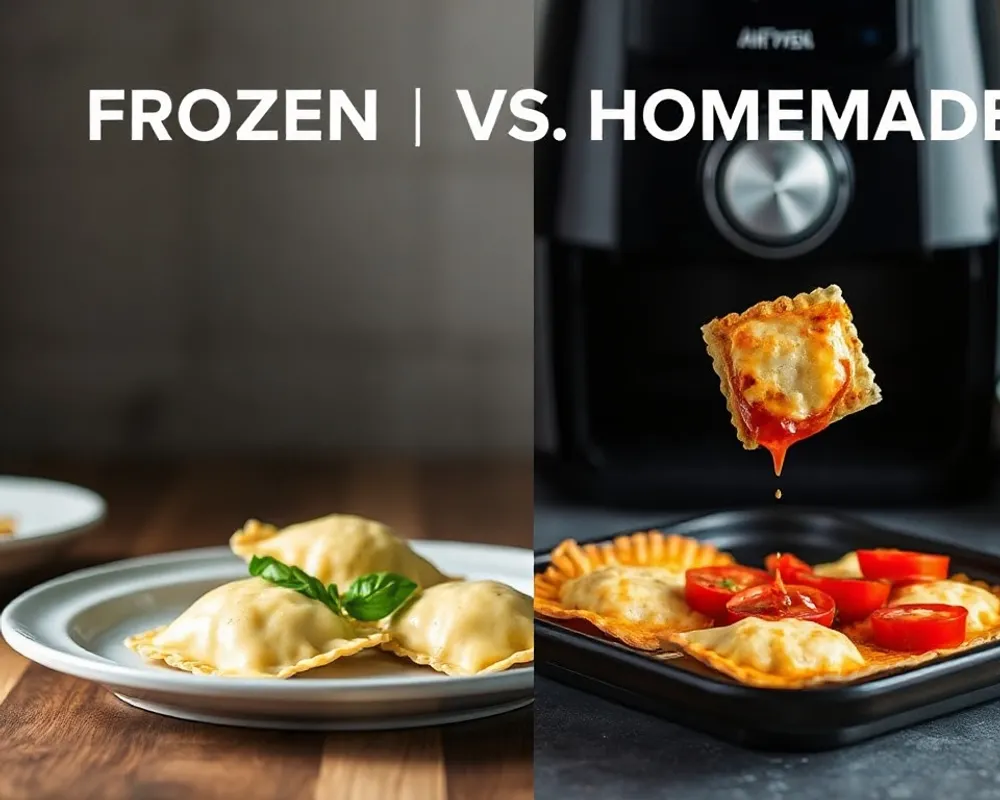
| Factor | Frozen Pre-Breaded | Homemade Breading |
|---|---|---|
| Prep time | 1 minute (open bag) | 10 to 12 minutes |
| Total time | 10 to 15 minutes | 20 to 25 minutes |
| Crispiness | Moderate, varies by brand | High, fully controllable |
| Control over seasoning | Minimal, locked by brand | Full control |
| Consistency | Varies between batches | Consistent batch to batch |
| Cleanup | Minimal | Three bowls, a plate, oil spray |
| Best for | Weeknight snacks, parties, kids | Special appetizers, date night, meal prep |
When Frozen Makes Sense
You have 10 minutes before guests arrive. You need something fast. The kids want a snack now.
Frozen pre-breaded ravioli delivers acceptable results with almost no effort. It is not going to win any awards, but it gets the job done.
When Homemade Makes Sense
You are hosting a gathering and want the appetizer to stand out. You have specific flavor preferences. You want to control the sodium level or use gluten free breadcrumbs.
Homemade takes more time, but the texture difference is noticeable in a side by side taste test.
Best for Each Use Case
Your situation determines the right choice. If you are cooking for a crowd, stick with frozen pre-breaded ravioli. Batch cooking 30 to 40 pieces takes multiple air fryer rounds.
The prep time for homemade breading across that many ravioli becomes impractical.
If you want the best possible texture, go homemade with panko breadcrumbs. The extra 10 minutes of prep delivers a noticeably crunchier result. Spray both sides generously with oil.
If you have meat filled ravioli, use homemade breading so you can ensure the coating adheres well. Meat fillings need to reach 165°F internally. Monitor the temperature with an instant read thermometer.
If using frozen meat ravioli, check that the pre-breaded brand contains fully cooked filling. Some do not.
If you are new to air frying, start with frozen. It gives you a baseline for timing and doneness without the complexity of breading. Once you are comfortable with how your air fryer handles breaded foods, move to homemade.
If you have a small air fryer, frozen works best. A 2 to 3 quart basket holds maybe 6 to 8 ravioli in a single layer. Spending 10 minutes breading that few pieces feels like poor time value.
Common Mistakes That Ruin Air Fryer Toasted Ravioli
Overcrowding the Basket
This is the number one mistake. Ravioli need space around them for hot air to circulate. When you crowd the basket, steam builds up.
The breading never gets dry enough to crisp. The bottoms stay soft and pale. Cook in batches with small gaps between each piece.
Skipping the Oil Spray
Oil is not optional. The breading needs a light coating of oil to trigger the browning reaction. Without it, the exterior stays pale and dry.
Use a neutral oil spray like avocado or canola. Hold the can about 6 inches away and mist evenly. Flip and spray the other side.
Not Preheating the Air Fryer
Dropping ravioli into a cold air fryer extends the cooking time unevenly. The breading sits in a warm, humid environment before the air starts circulating properly. Preheat for 3 to 5 minutes.
If your air fryer does not have a preheat setting, run it empty at your target temperature.
Using the Wrong Breadcrumb
Fine, dense breadcrumbs absorb more oil and can turn greasy. They also brown faster, increasing the risk of burning before the filling is hot. Panko or a panko blend gives better airflow around each piece, resulting in a lighter, crispier texture.
Not Flipping Halfway Through
The bottom of each ravioli sits against the basket and does not get the same airflow as the top. Without flipping, one side stays pale and soft while the other side browns. Flip at the halfway point using tongs.
Expert Tips for Consistently Perfect Results
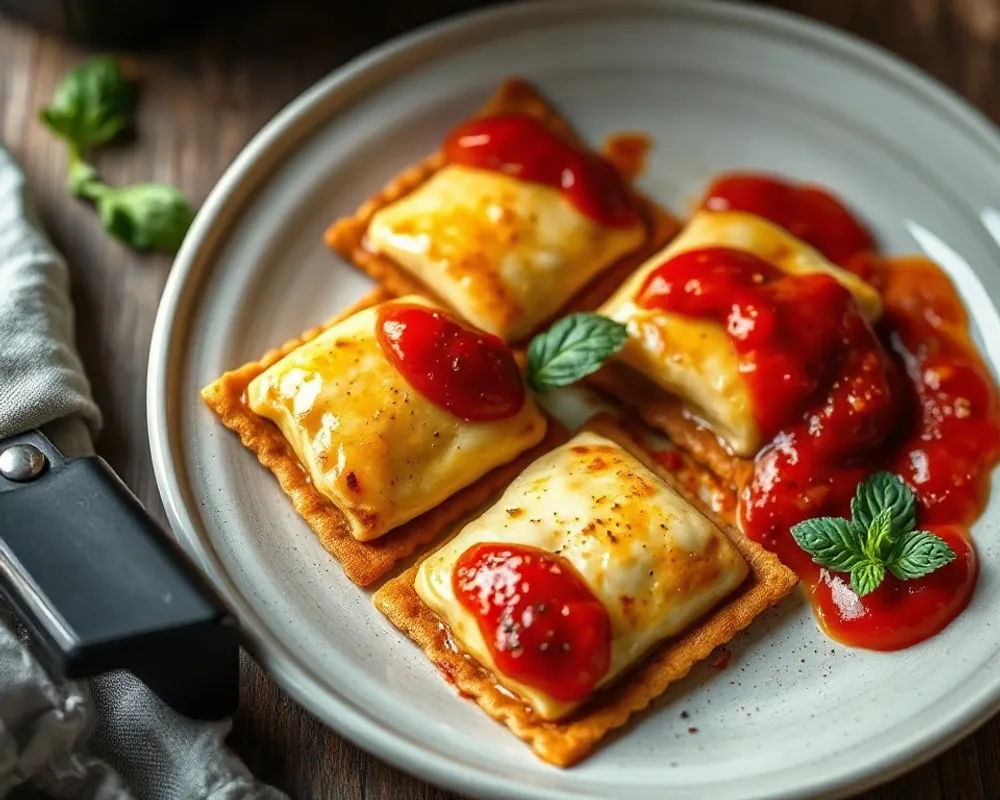
Let the Breading Rest
After breading homemade ravioli, let them sit for 5 to 10 minutes before cooking. This allows the egg wash to set. The breading bonds more firmly to the pasta and stays put during air frying instead of flaking off.
Use a Wire Rack for Cooling
Do not stack hot ravioli on a plate. The steam trapped between them softens the coating immediately. Place them on a wire rack set over a baking sheet.
Air circulates underneath and keeps the bottoms crisp. If you are cooking multiple batches, hold the finished pieces in a 200°F oven on a wire rack. They stay crisp for up to 30 minutes.
Season the Dipping Sauce
Marinara is the classic pairing. But a plain jarred sauce can taste flat. Add a pinch of dried oregano, a splash of olive oil, and a grate of fresh Parmesan.
Warm it gently. A good sauce elevates the whole experience.
Dial in Your Specific Air Fryer
Air fryers vary in actual temperature. A 400°F setting on one model might run 380°F on another. Buy an oven thermometer and test your machine.
Knowing the real temperature helps you adjust cooking times accurately.
Frequently Asked Questions
Can I use gluten free breadcrumbs for air fryer toasted ravioli?
Yes. Gluten free breadcrumbs work well, though they brown faster than wheat based versions. Reduce the cook time by 1 to 2 minutes and check at the halfway point.
A light oil spray helps them crisp up properly.
Do I need to thaw frozen ravioli before air frying?
No. Cook them straight from frozen. Thawing makes the dough soft and increases the chance of filling leaking during cooking.
The air fryer handles frozen ravioli directly without issue.
How do I reheat leftover toasted ravioli?
Place them back in the air fryer at 350°F for 3 to 4 minutes. Do not use a microwave. The microwave turns the coating soggy.
Reheating restores most of the original crispiness.
What dipping sauces work best besides marinara?
Ranch dressing, garlic aioli, Alfredo sauce, and spicy sriracha mayo all pair well. Warm the sauce slightly before serving. A cold sauce can make hot crispy ravioli lose temperature quickly.
Why did my ravioli burst open in the air fryer?
The filling expanded faster than the dough could stretch. This happens with thinner dough or overfilled ravioli. If it keeps happening, lower the temperature by 10°F and extend the cook time.
Final Verdict: Which Method Should You Use?
Frozen pre-breaded ravioli wins when speed matters most. It takes less than 15 minutes total and requires almost no prep. Homemade breading wins when texture is the priority.
The extra 10 minutes of work delivers a noticeably crunchier result.
For most home cooks, the best strategy is to keep both options available. Use frozen for quick snacks and busy weeknights. Use homemade for gatherings or any time you want that restaurant quality crunch.
Either way, 375°F with a light oil spray and a single layer in the basket gives you reliable results.